


Share
If you're trying to protect your car's paint and polish its appearance, it is necessary to master a proper PPF install (Paint Protection Film installation). Whether you're an experienced installer or just getting started, learning and understanding the basic processes of PPF installation can really make a difference. In this blog, we'll explore ten tips that can help you achieve a smooth, professional, and long-lasting PPF install. These practical insights are quite helpful for improving both your confidence and your finish on every PPF install.
Get Your Car Clean Before You Even Think About PPF Install
Firstly you need to give your car a through wash by using a pH-neutral shampoo so that the car can get rid of dirt and grime. Then, check the surface again with a clay bar to pull out anything that’s stuck on the car—like sap, tar, or brake dust. This step is really important. Make sure you remove everything from the film, otherwise it won't stick properly and you'll end up with bubbles or peeling.
Then, wipe everything down with a mix of isopropyl alcohol and distilled water to clear any wax or oil. And also pay attention to the edges and corners, because dirt often hides in these places. A clean surface means the film lays flat.
A lot of people rush the prep, but it’s actually one of the most important parts. A cleaner surface always results in a better PPF install. Missing this step will leads to do-overs, instead, and nobody wants to do a repetitive work.
Work in a Controlled Space - A Cleaner PPF Install Every Time
It’s easy to overlook, but where you install PPF matters—a lot. If you do it outside, the film will get dusty, buggy, and pollen will settle on it. The weather can also change a lot. It's just not worth the risk. Make sure you do it somewhere clean and stable, like an indoor garage or a car detailing shop.
Ideally, your space should have steady temperatures (around 60–75°F / 15–24°C), moderate humidity, and minimal airflow. This helps to avoid dust staying on your film. And don't forget the lighting. Bright white LEDs will help you to see air bubbles, streaks or trapped debris more easily.
The bottom line is that if you control your space, you’ll be less likely to make simple mistakes and the installations will be better. You’ll work faster, cleaner, and with way fewer do-overs.
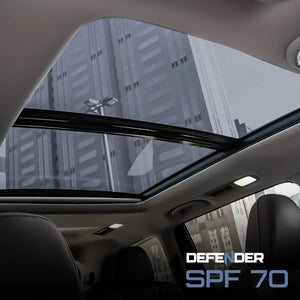
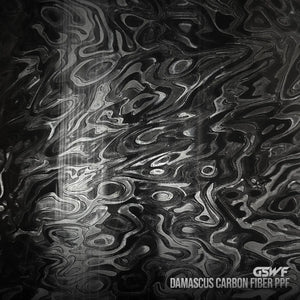
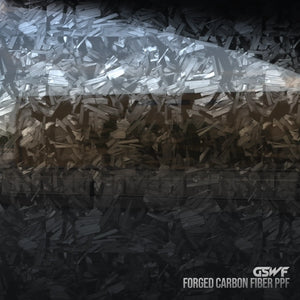
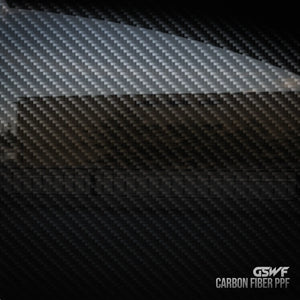
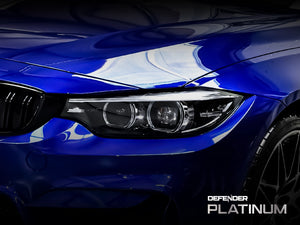
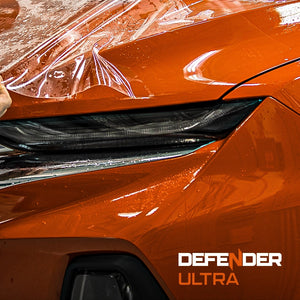
Choose High-Quality PPF Film and Tools (GSWF) for an Easy Install
Not all PPF is built the same. Going with a premium option like GSWF’s Defender series makes the whole process smoother. It's easy to work with, stretches well, self-heals, and has killer clarity—so you’ll take less risk of finishing with creases or distortion.
Tools matter too. Grab a solid squeegee (felt or Teflon edge), a reliable heat gun, and a proper spray bottle for your slip solution. Don’t cheap out here—bad tools slow you down and make mistakes more likely.
GSWF also offers training and tools for installers, which can seriously level up your game. With the right equipment and some knowledge, you'll get PPF installations cleaner, do your jobs faster, and make your clients happier.
Use the Right Slip Solution and Keep Surfaces Wet During PPF Install
Slip solution is your best friend when doing a PPF install. It’s usually just distilled water and a couple drops of baby shampoo or gel, but it makes difference. It lets the film glide over the paint so you can adjust it without it sticking too early.
Spray generously—both on the car and the film’s sticky side. If it’s too dry, you’ll trap air or get creases. Keeping it wet gives you time to adjust it before it sticks.
It also helps reduce drag from your squeegee, so you won’t leave tiny scratches behind. Here's a tip: change your mix a little based on the weather. Hot weather usually needs a bit more slip. A good slip setup gives you control and flexibility for a smooth, professional finish.
Accurately Cut and Align Your Film Pieces
If you’re using bulk film instead of pre-cuts, precision is everything. Cut each piece a bit oversized—that gives you enough space to line it up just right and trim cleanly later.
Lay the film on gently and do some alignment. Only start pressing once you’re sure. Once it starts sticking, any movement risks stretch marks or bubbles.
When trimming, use a sharp blade and follow the panel lines tight. Messy cuts make even good installs look sloppy. Take your time—this step’s all about finesse, not speed.
And here’s the pro move: use a pre-cut pattern whenever you can. GSWF’s Precision Cut Software is developed exclusively for our distributors and certified stores. It gives you easy access to a huge collection of car models, with information for over 30,000 vehicle models. This has been used in more than 100,000 cars in over 2,000 professional car detailing shops.
The software is designed to make things more accurate, easier to use and efficient. It will help ensure that the PPF fits perfectly, reduces waste and speeds up the installation process without sacrificing quality.
Master Overlapping Squeegee Strokes in Your PPF Install
Using a squeegee may seem simple, but doing it right is an art. After positioning the PPF with your slip solution, use overlapping squeegee strokes from the center outward to remove liquid and air. This process helps you avoid trapped bubbles and make sure you have a smooth finish.
Choose a felt-edge or Teflon squeegee to avoid scratching the surface. Make sure you keep the pressure steady and don't rush to do it. If you hurry up, you might get bubbles, especially around corners and edges. If a bubble does appear, lift the affected area, put more slip solution on it, and try it again.
One of the most important things to do right when installing PPF is to know how to use the squeegees. If you're precise and patient, you'll get a perfect finish.
Smart Heat Makes a Smarter PPF Install
We know that curves, corners and recessed areas can be tricky, but don't worry. If you apply heat to the right place, the film will be installed smoothly. Use a heat gun to warm the film so that it becomes more flexible. This means you can stretch it around your body without putting too much tension on it.
Remember to keep moving the heat gun from time to time so that you don't overheat an area. Keep the temperature at around 175°F (80°C). Heat helps to stick the adhesive to the film and keeps it in place, especially on the edges.
The trick is to get the balance right: just enough heat to shape it, but not so much otherwise you’ll ruin the film. Remember, the more you practice, the better you will get!
A Smooth PPF Install Needs Staying Wet and Stress-Free
One of the easiest ways to make sure your PPF is adjustable during installation is to always keep the adhesive side wet. This is great because it stops the film sticking before it's supposed to, and makes it super easy to slide the film into place. If the glue dries, it might create some creases that can't be undone.
You’d better not to overstretch the film, especially once it starts to stick to the surface. If you're not sure how to do it, just peel back gently, put it back into the slip solution, and try again. A wet PPF install not only gives you more time to adjust, but also improves overall finish.
Wear Gloves and Avoid Contaminating the Film
We know that things like fingerprints, skin oils and dust might seem like small issues, but we're here to tell you that they can actually have a big impact on your PPF install. Always wear nitrile gloves or thoroughly wash your hands before touching the film or vehicle.
If you notice any particles on the adhesive side, don't worry - just use a spray bottle to rinse them off before applying. Don't worry if you see some bubbling or poor adhesion - this can sometimes happen if there are contaminants trapped between the film and paint. But don’t worry, these problems can easily be fixed once the film is in the right place!
Hygiene isn't just about cleanliness; it's also about being professional. Remember, keep your tools and hands clean for better results.
Inspect Carefully and Consider Professional Training - GSWF
Once you've finished installing it, just take a moment to go over each panel with your fingers. Look for lifted edges, trapped moisture, or dust particles. Use a heat gun and squeegee to correct small imperfections.
Even our most experienced installers still benefit from training, so you know you're in good hands. We at GSWF are here to support you on your journey to success! Our professional training programs are designed to help you refine your technique and stay ahead of the curve. Hey, why not try joining a training session or shadowing a pro to sharpen your skills? Click here to get more detailed information about our training program!
We all know that a perfect PPF install is so important. It doesn't just protect your vehicle, it also makes customers trust you more and makes your brand more valuable. If you put a lot of effort into it and make sure you have everything you need, you will always get great results.